
Need Help?
AlphaX Vision Camera Setup (Coral AI Accelerator)
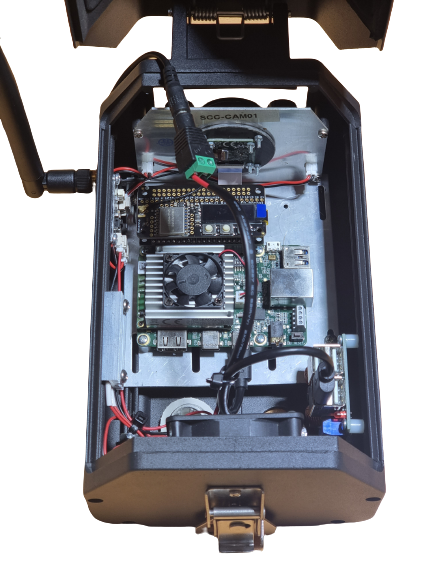
Welcome to the setup guide for AlphaX Vision embedded camera with Google Coral AI Acceleration! This short knowledge base article is designed to assist you to quickly setup and configure the powerful AlphaX Vision product, which incorporates the cutting-edge Google Coral AI Accelerator. By following this guide, you get step-by-step instructions and best practices to ensure a successful setup, enabling you to unlock the full potential of this advanced embedded camera system for your object detection applications.
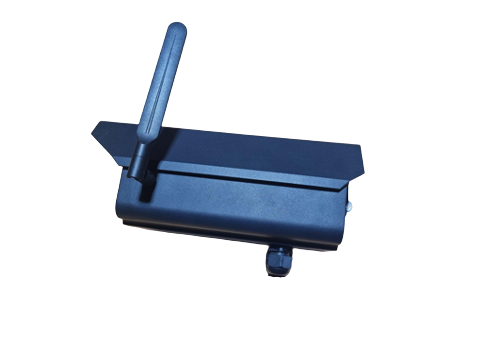
Connect Antenna and Cable Gland
- The External antenna and a waterproof gland are shipped with the camera.
- The antenna screws onto the antenna connector on the side of the camera.
- The gland can be screwed into the open port on the bottom of the device.
- The gland can be replaced with any 20mm gland.
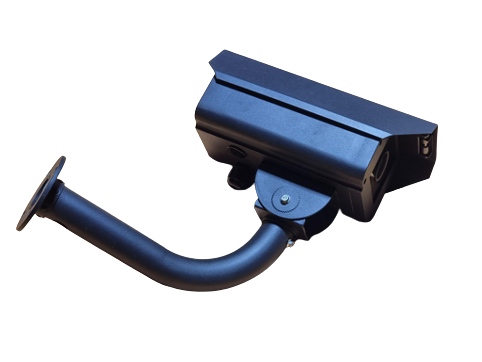
Attach Camera Mount
- The camera mount is attached to the bottom of the camera using the screws provided.
- The mount can then be used to attach the camera to most kinds of mounting locations.
The camera rotation and tilt can be adjusted using the screws.
Connect Power / Internet
- An included 12V 3A power supply is shipped with the camera. This is connected to the internal barrel jack to power the camera.
- The camera comes with a LoRaWAN connection using ABP, configuration of the device is done using the cameras built in Wifi AP.
- Once power is connected the camera will automatically start running its object detection software.